As young kids learn about shapes and measurement, they soon enough come to measure the perimeter and area of those shapes. There are shapes all around us. In fact, most of us live in homes that are made of a lot of rectangles. These rectangles, like rooms, are often measured and perimeters and areas are calculated for buying rugs or flooring. The same is true for painting those rectangular walls. So, calculating area and perimeter is a pretty practical skill. Here are some interesting area and perimeter activities and explorations to help students learn about perimeter and area in hands-on, motivating ways.
1. Tiling Area and Perimeter Chart
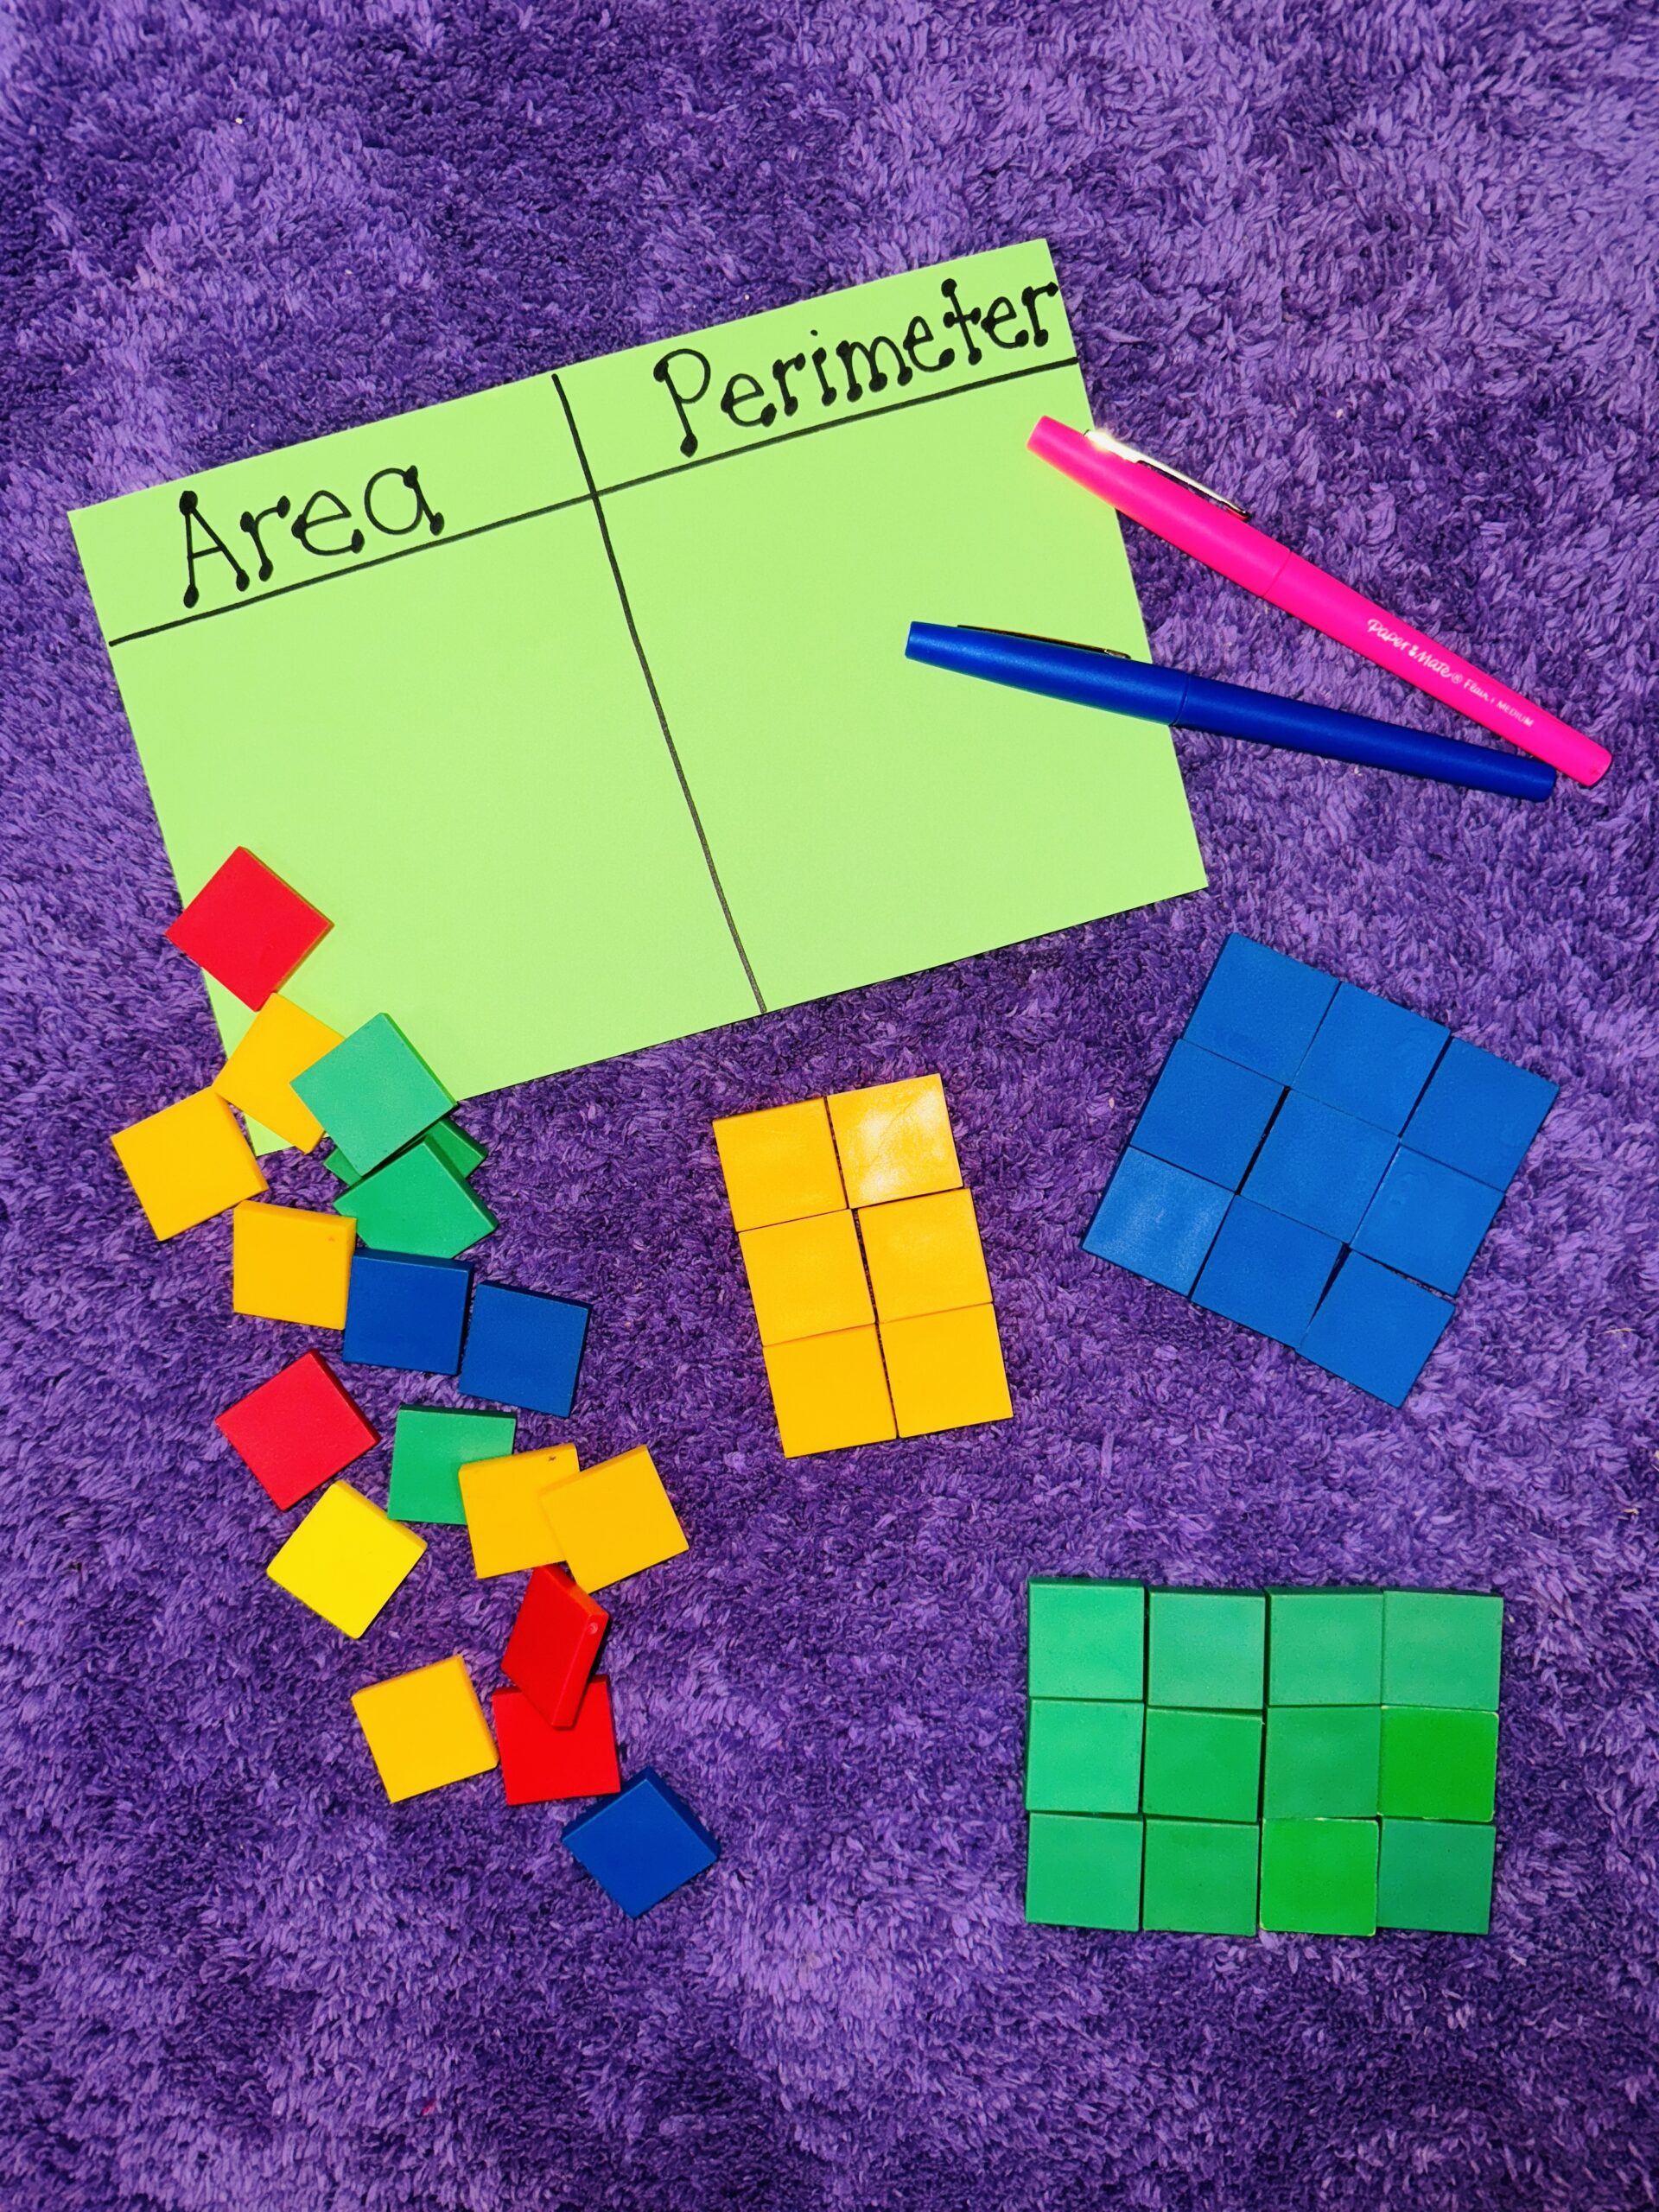
As a first exploration with both perimeter and area, put out a set of square counting tiles or even real tiles. Circle students up, give them six tiles each, and have them build along with you. First, put out four tiles and explain how this is a model of a floor. Explain how we count the outside of the tile’s edges to determine the perimeter. Then show how we count the tiles inside to determine the area. Draw a picture of this on chart paper and label “area” and “perimeter.”
Let students experiment with their tiles, making different kinds of rectangles and figuring out their areas and perimeters. Have them share back what they find, and add these ideas to the chart. This can become a good class reference as you continue working with these concepts.
2. Graph Paper Person
Graph paper is great for exploring area and perimeter because the squares are easily counted. Give students colored pencils and/or crayons and a piece of graph paper. Have them create a “drawing” of a person using only colored-in squares on the graph paper. Then ask them to determine the perimeter and area of their person and write both on the paper along with the calculations.
3. Sticky Note Measurement
Provide students with pads of colorful sticky notes and drawing paper. Ask them to create interesting designs or shapes using this colorful material. After some free exploration, direct them to clear the paper and create a design according to the perimeter and area you give them. You might ask for a rectangle that has a perimeter of 12 or a square that has an area of 16. After a while, let students make their own and then calculate their area and perimeter. Then take turns sharing the area and perimeter and see if the rest of the class can make the same thing.
4. Math Letter Mosaic
Break out the sticky notes again. Explain to students that they can create a mosaic using this material on a piece of large drawing paper. However, you will give them a capital letter to create, like an L or R. Once they do this, they measure and record the perimeter and area on a separate sheet of paper. It’s great if you can assign letters that will spell out a sentence. These make a great bulletin board or class sign.
5. LEGO Land
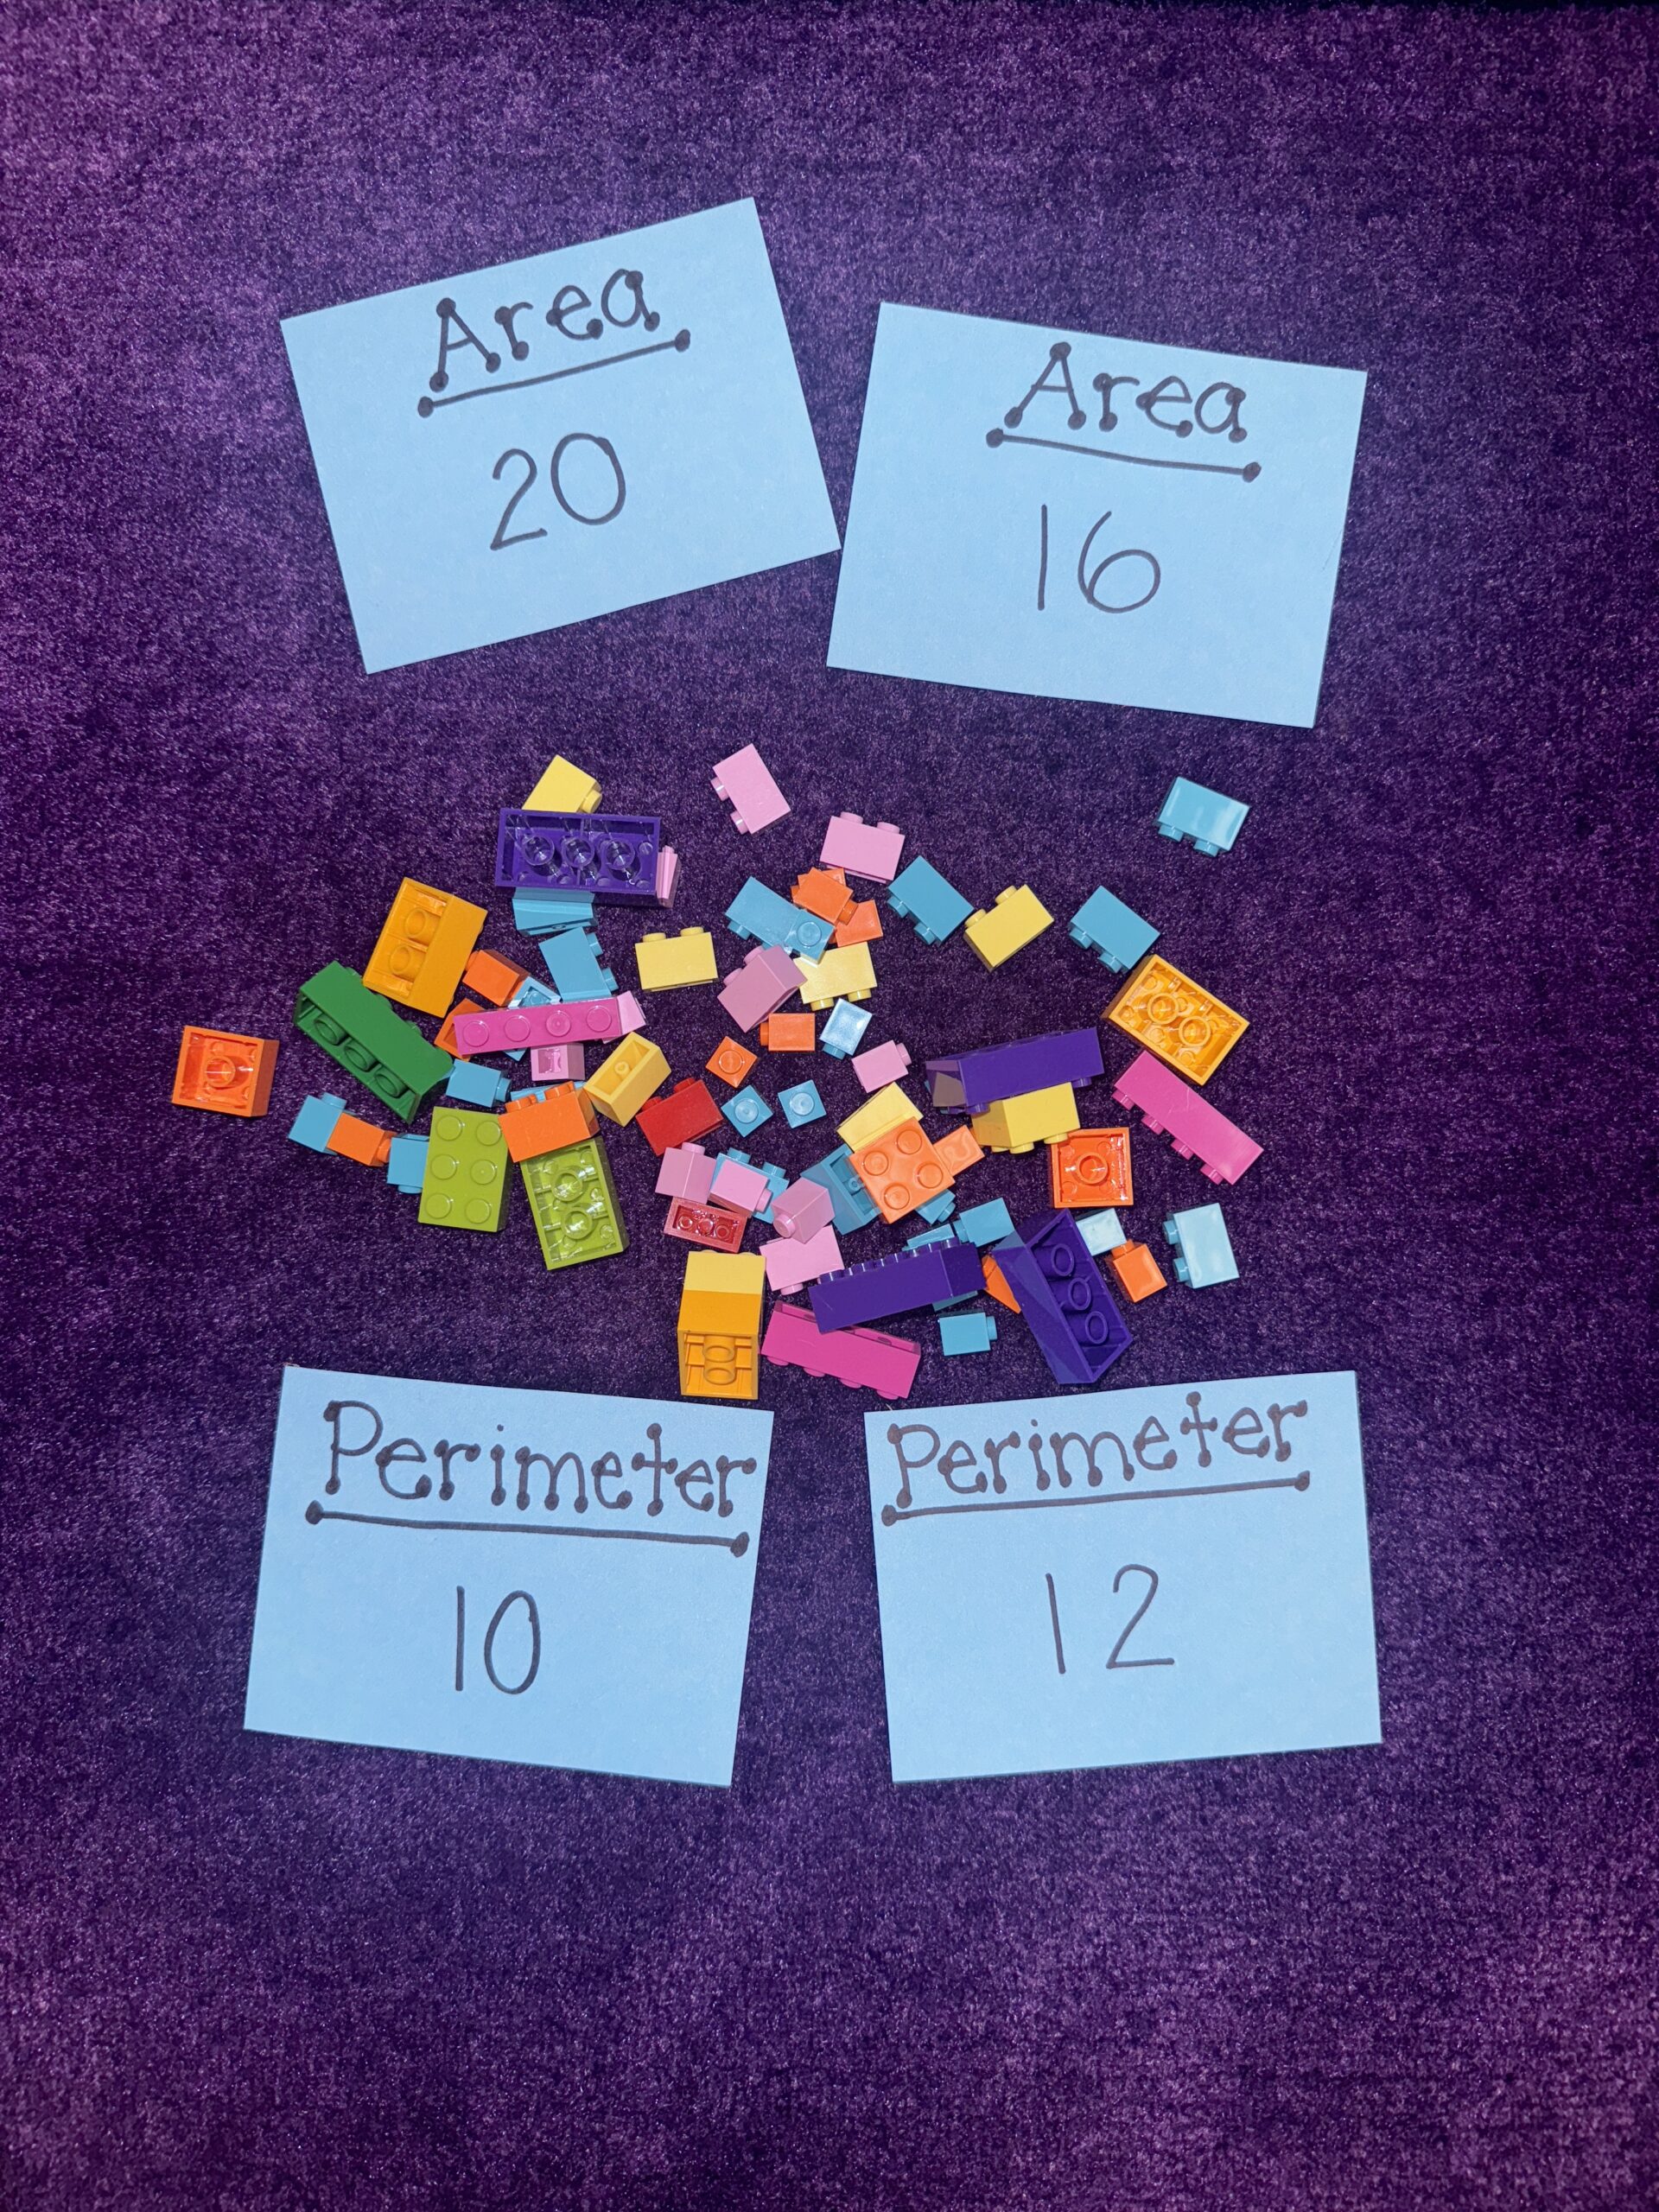
It seems like everyone loves LEGO and has for decades! Provide a set of LEGO to students and have them freely explore building flat designs. Then in a box or bag, put a set of cards with areas and perimeters written on them. Students take turns pulling a card, and using their LEGO bricks, they build a flat design with that exact perimeter and area.
6. Floor Tile–Style Field Trip
Take a mini field trip to another part of the school. Bring along yardsticks, rulers, measuring tapes, and painter’s tape. Many school floors in classrooms, cafeterias, and hallways are made of linoleum tiles. Partner students up and give them a roll of painter’s tape. Take the class to a large area to work together. Partners should create an interesting shape with the tiles and tape. Have them then calculate the area and perimeter with each floor tile being a unit of measure. You might not need the measuring tools, but you have them just in case.
7. Dream House Room Design
Barbie had a dream house! Maybe you do too. Provide each student with graph paper, pencil, scissors, a glue stick, and colored paper. Have them each draw a rectangle that represents a room in their dream house. Then cut out colored paper to represent furniture like tables, beds, sofas, and chairs. Arrange these in the room and glue them down. On each piece, write the perimeter and area of that piece as well as the perimeter and area of the room. You can add more rooms each session to build a total dream house floor plan.
8. Perimeter and Area Museum
Using tiles, cubes, sticky notes, attribute blocks, and any other manipulatives, explain to students that they will be building an area-and-shape museum on their desks. They should have at least five exhibits at the museum, each one showing a different perimeter or area. Use small pieces of construction paper and write the measurements on them. Fold them in half and stand them up as exhibit signs. Finally, have students take a museum walk and visit all the exhibits.
9. Perimeter and Area Hunt
Kids love scavenger hunts. Here’s one that helps them practice perimeter and area measures. Have each student make a flat model using multilink cubes according to a perimeter and area you give them individually. Then take these models and place them around the room, labeling each one with a letter. Students get a piece of lined paper, pencil, and clipboard and go around the room determining the perimeter and area of each model. They write it next to the corresponding letter on their paper. When done, review them together while holding the model up as a reference.
10. Vegetable Garden Planner
Give each student a piece of graph paper, colored pencils or crayons, and a pencil. Discuss what kinds of vegetables are grown in gardens. Ask students to use their graph paper to plan out a garden with at least five different things growing there. Determine how much of the garden they want to have for each vegetable, and draw and color in the areas for each. At the bottom of the plan, have a key that tells what each color means and how big that part of the garden is in terms of area and perimeter.
11. Geo Board Explore
Geo boards are a great way to explore shapes and measurements. Give each student a geo board and a pack of rubber bands. Begin by allowing students free exploration for five minutes. Then ask them to create a shape and calculate the perimeter and area. Finally, students take turns giving measurements to the class of the shape they made, like, “Make a triangle with a perimeter of 16,” or “Make a rectangle with an area of 8.” Everyone tries it on their geo boards and holds them up to show their answers.
12. How Many Rectangles Can You Make?
Here’s one of the area and perimeter activities that can stretch some thinking. Pair up students and give them 16 tiles. Explain, “You have 16 tiles. I want you to find how many different rectangles you can make using no more or no less than 16 tiles each time.” Have partners record these on a piece of graph paper, numbering them, and writing the perimeter and area of each. Share together at the end of the session.
13. Draw a Card, Draw a Rectangle
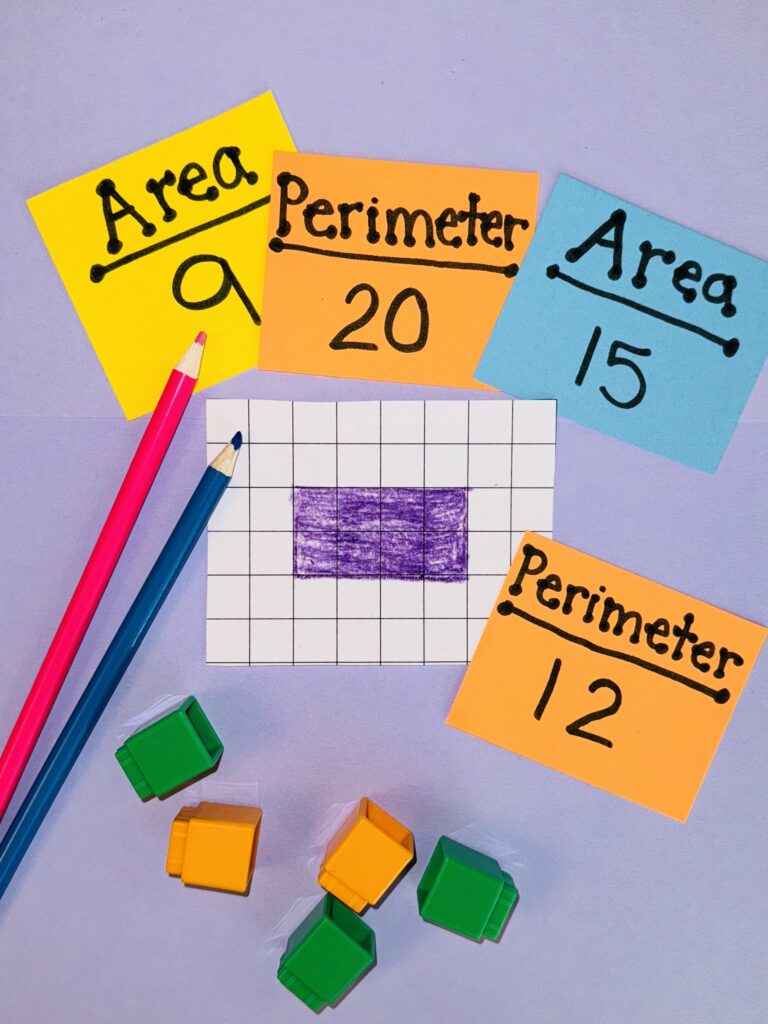
On a set of blank index cards, write a series of task cards. Each card should list a perimeter, an area, or an area and a perimeter. Give each student a piece of graph paper and a pencil. Ask them to choose a card from the deck. They should draw whatever the card specifies on the paper. When done, have it checked, and then students can trade cards to try some others.
14. How Big Are the Books?
Classrooms are full of books. Most are rectangles. Give each student lined paper, a pencil, and a ruler. For these area and perimeter activities, explain that they are to go around the room and select three books. They then write the titles down and measure the perimeter and area of each, recording it next to the title. Share back to see which book had the biggest and smallest perimeter and area. To extend this, send students two at a time to the library to find even bigger or smaller books to measure.
15. Tangram Time
Tangrams are always fun to play with. For these area and perimeter activities, print them out and let students explore and create for five minutes. Then focus back and have students create a tangram design on a piece of graph paper. Trace it, color it, and then find its perimeter and area. Suggest that students create at least two designs that are very different from each other.
16. The Area of My Pizza
Draw a couple of different-size circles on the board. Explain how you can find the area of a circle using the formula Area = 3.14 (pi) x radius (r)squared. Demonstrate how to measure the radius, and then use a calculator to do the operations in the formula. Using lids from cans or a compass, have students make at least two circular pizzas on a piece of drawing paper and with crayons “top” their pizzas with things like sausage, peppers, and so on. After decorating the pizzas, they should use a ruler and calculator to determine the area of each one and write it underneath the pizzas.
17. Graph Paper Names
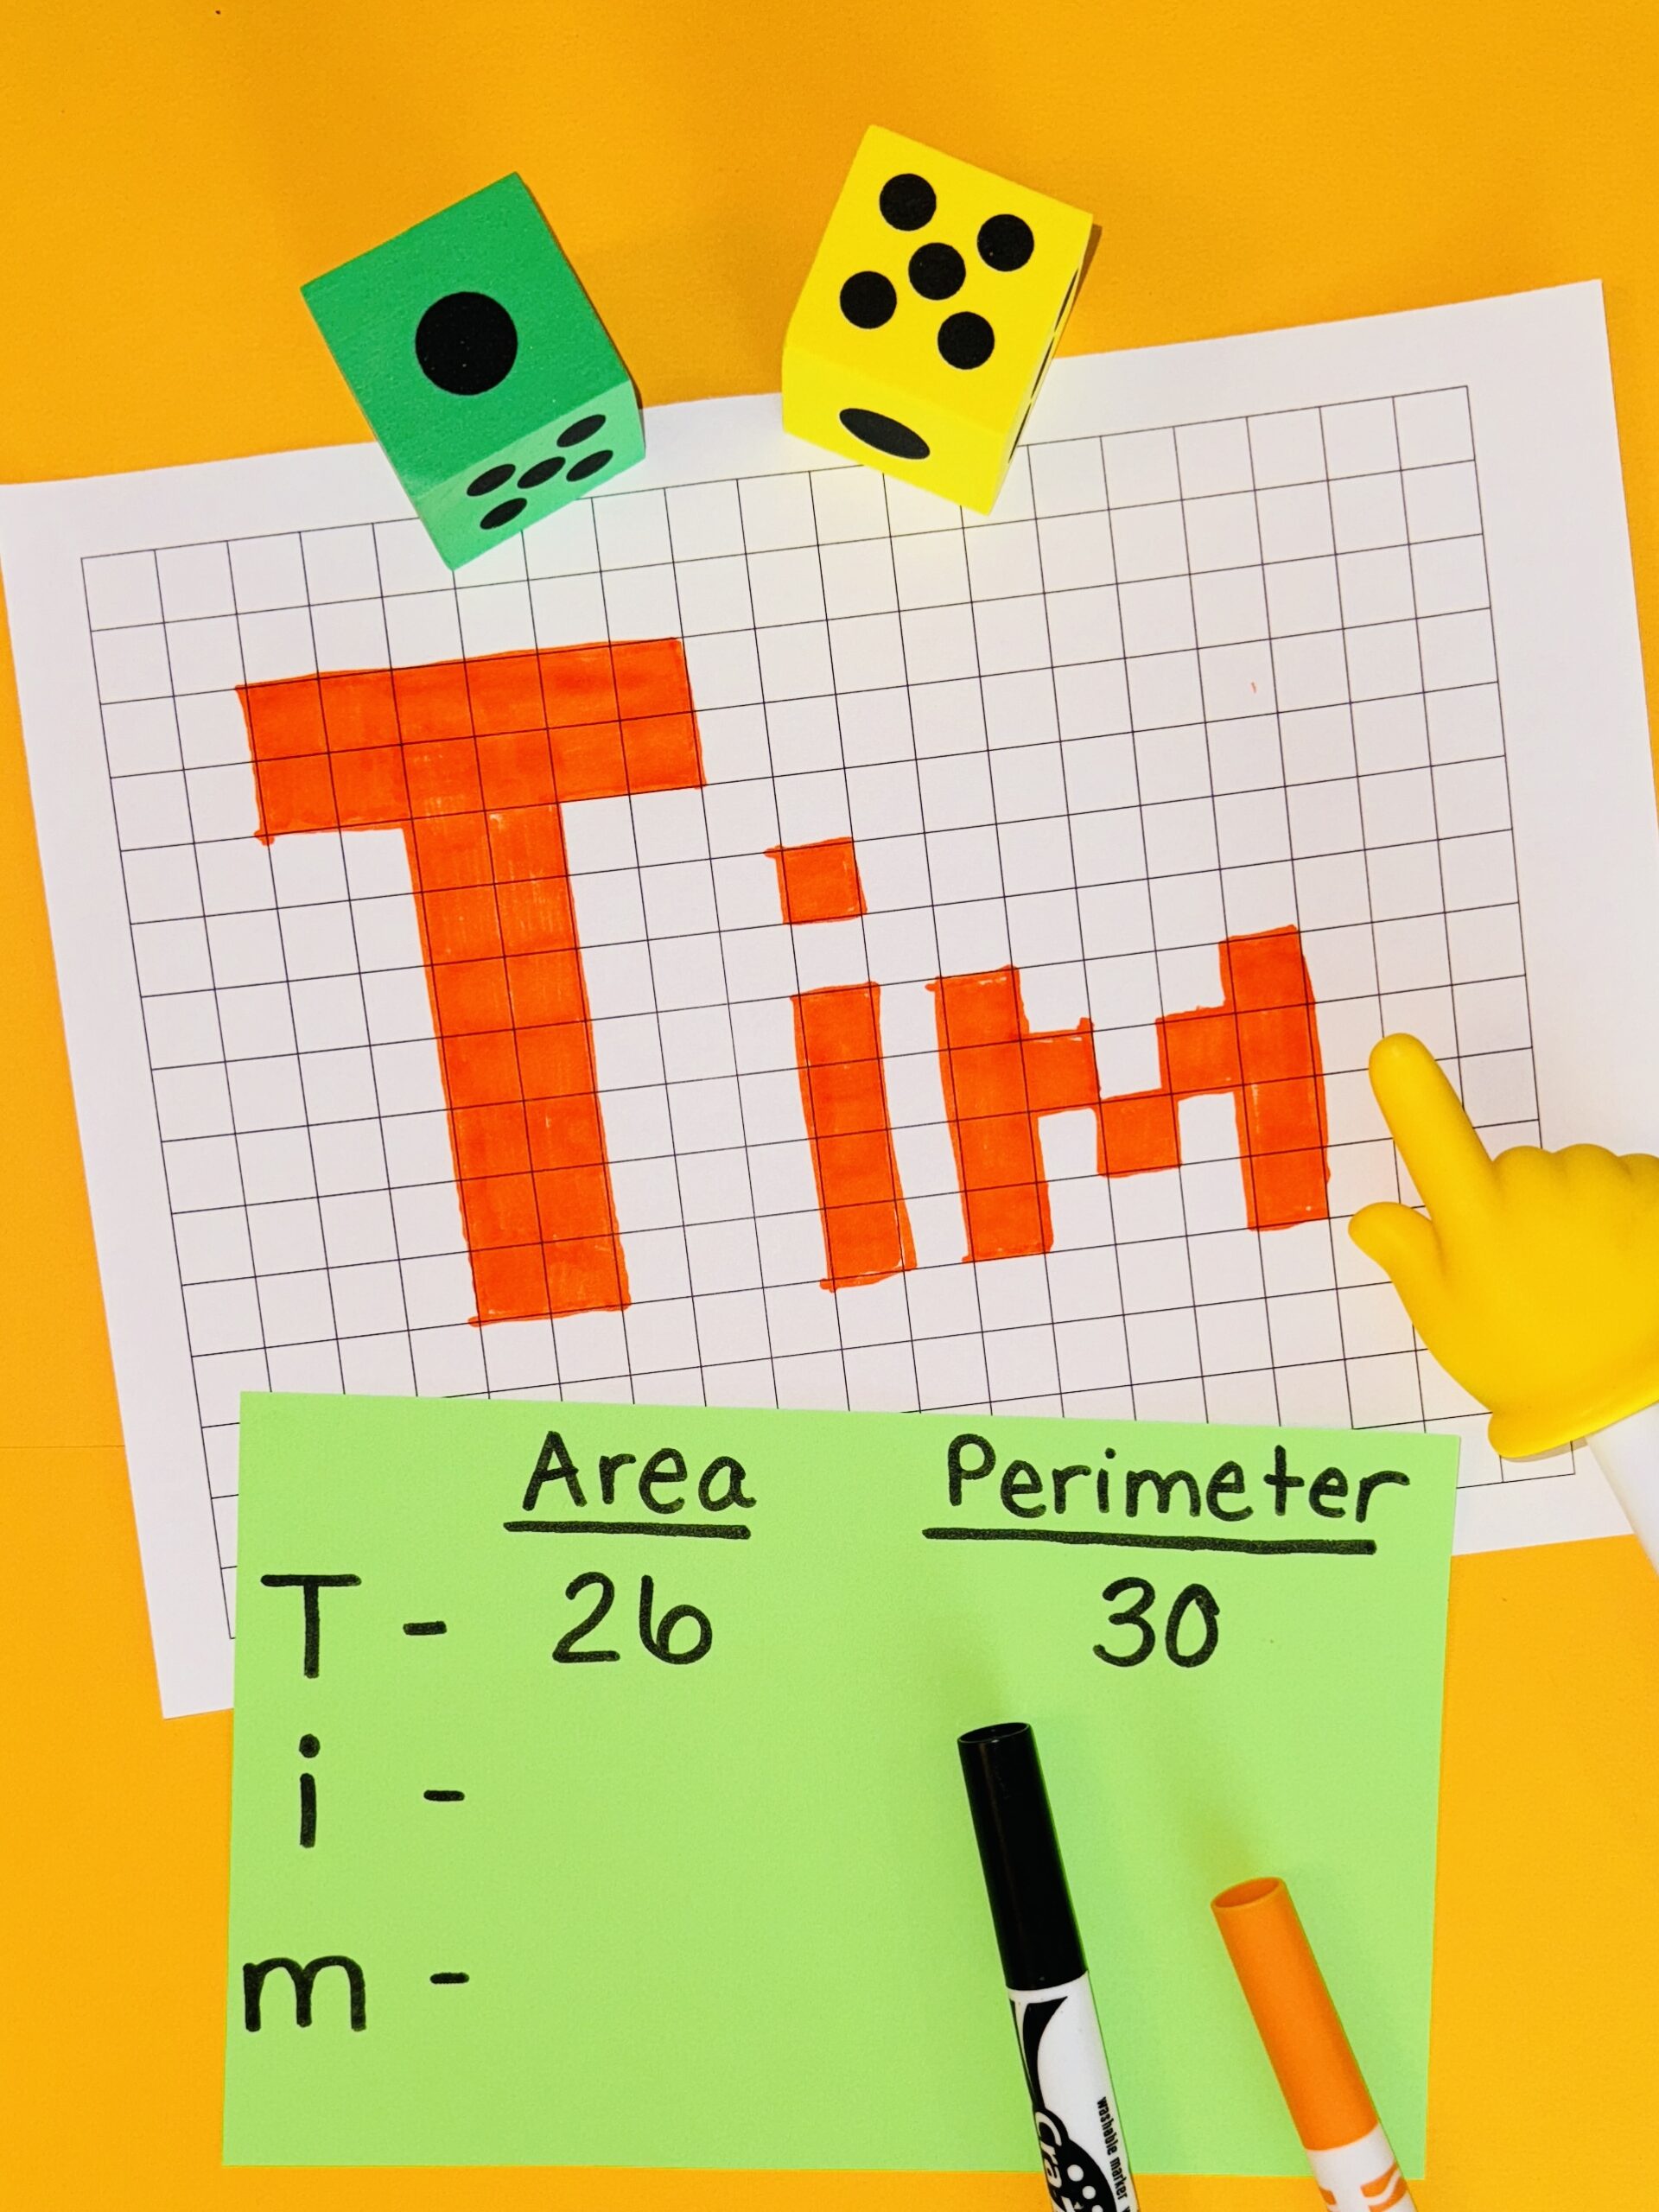
Kids are always interested in their own names. Give students graph paper, colored pencils, and/or crayons. Explain that they should write their names in block letters using graph paper and color them in. Once each student completes their area and perimeter activities, ask them to calculate the area and perimeter of each letter and write that information under each letter.
18. Mystery Box
Put a collection of flat objects like books, notebooks, file folders, brochures, maps, box lids, stamps, stickers, and so on in a cardboard box. Students close their eyes and reach into the box and pull out an object. They take the object to their desks, write down the name of the object on a piece of lined paper, and then measure its perimeter and area, recording it next to its name. When done, return the object to the box and pick a new one. At the end, have students share their measurements for each object as you name them one by one.
19. Same/Same
Give each student a piece of graph paper and a pencil. The simple challenge is this: Can you draw two shapes that have the same area and perimeter but are different? Is it possible? How many can you make? Students draw these and share them on a bulletin board at the end. This is a great exploration no matter the results. Everyone will be thinking hard and measuring away!
20. Number Card Design
Have students pick two number cards from a deck of cards and then multiply them to determine the area. Now they take a piece of graph paper and try to draw a shape with that exact area. You can do the same with perimeter by having them pick two cards, one of which will show width and the other length.
21. Run Out of Room
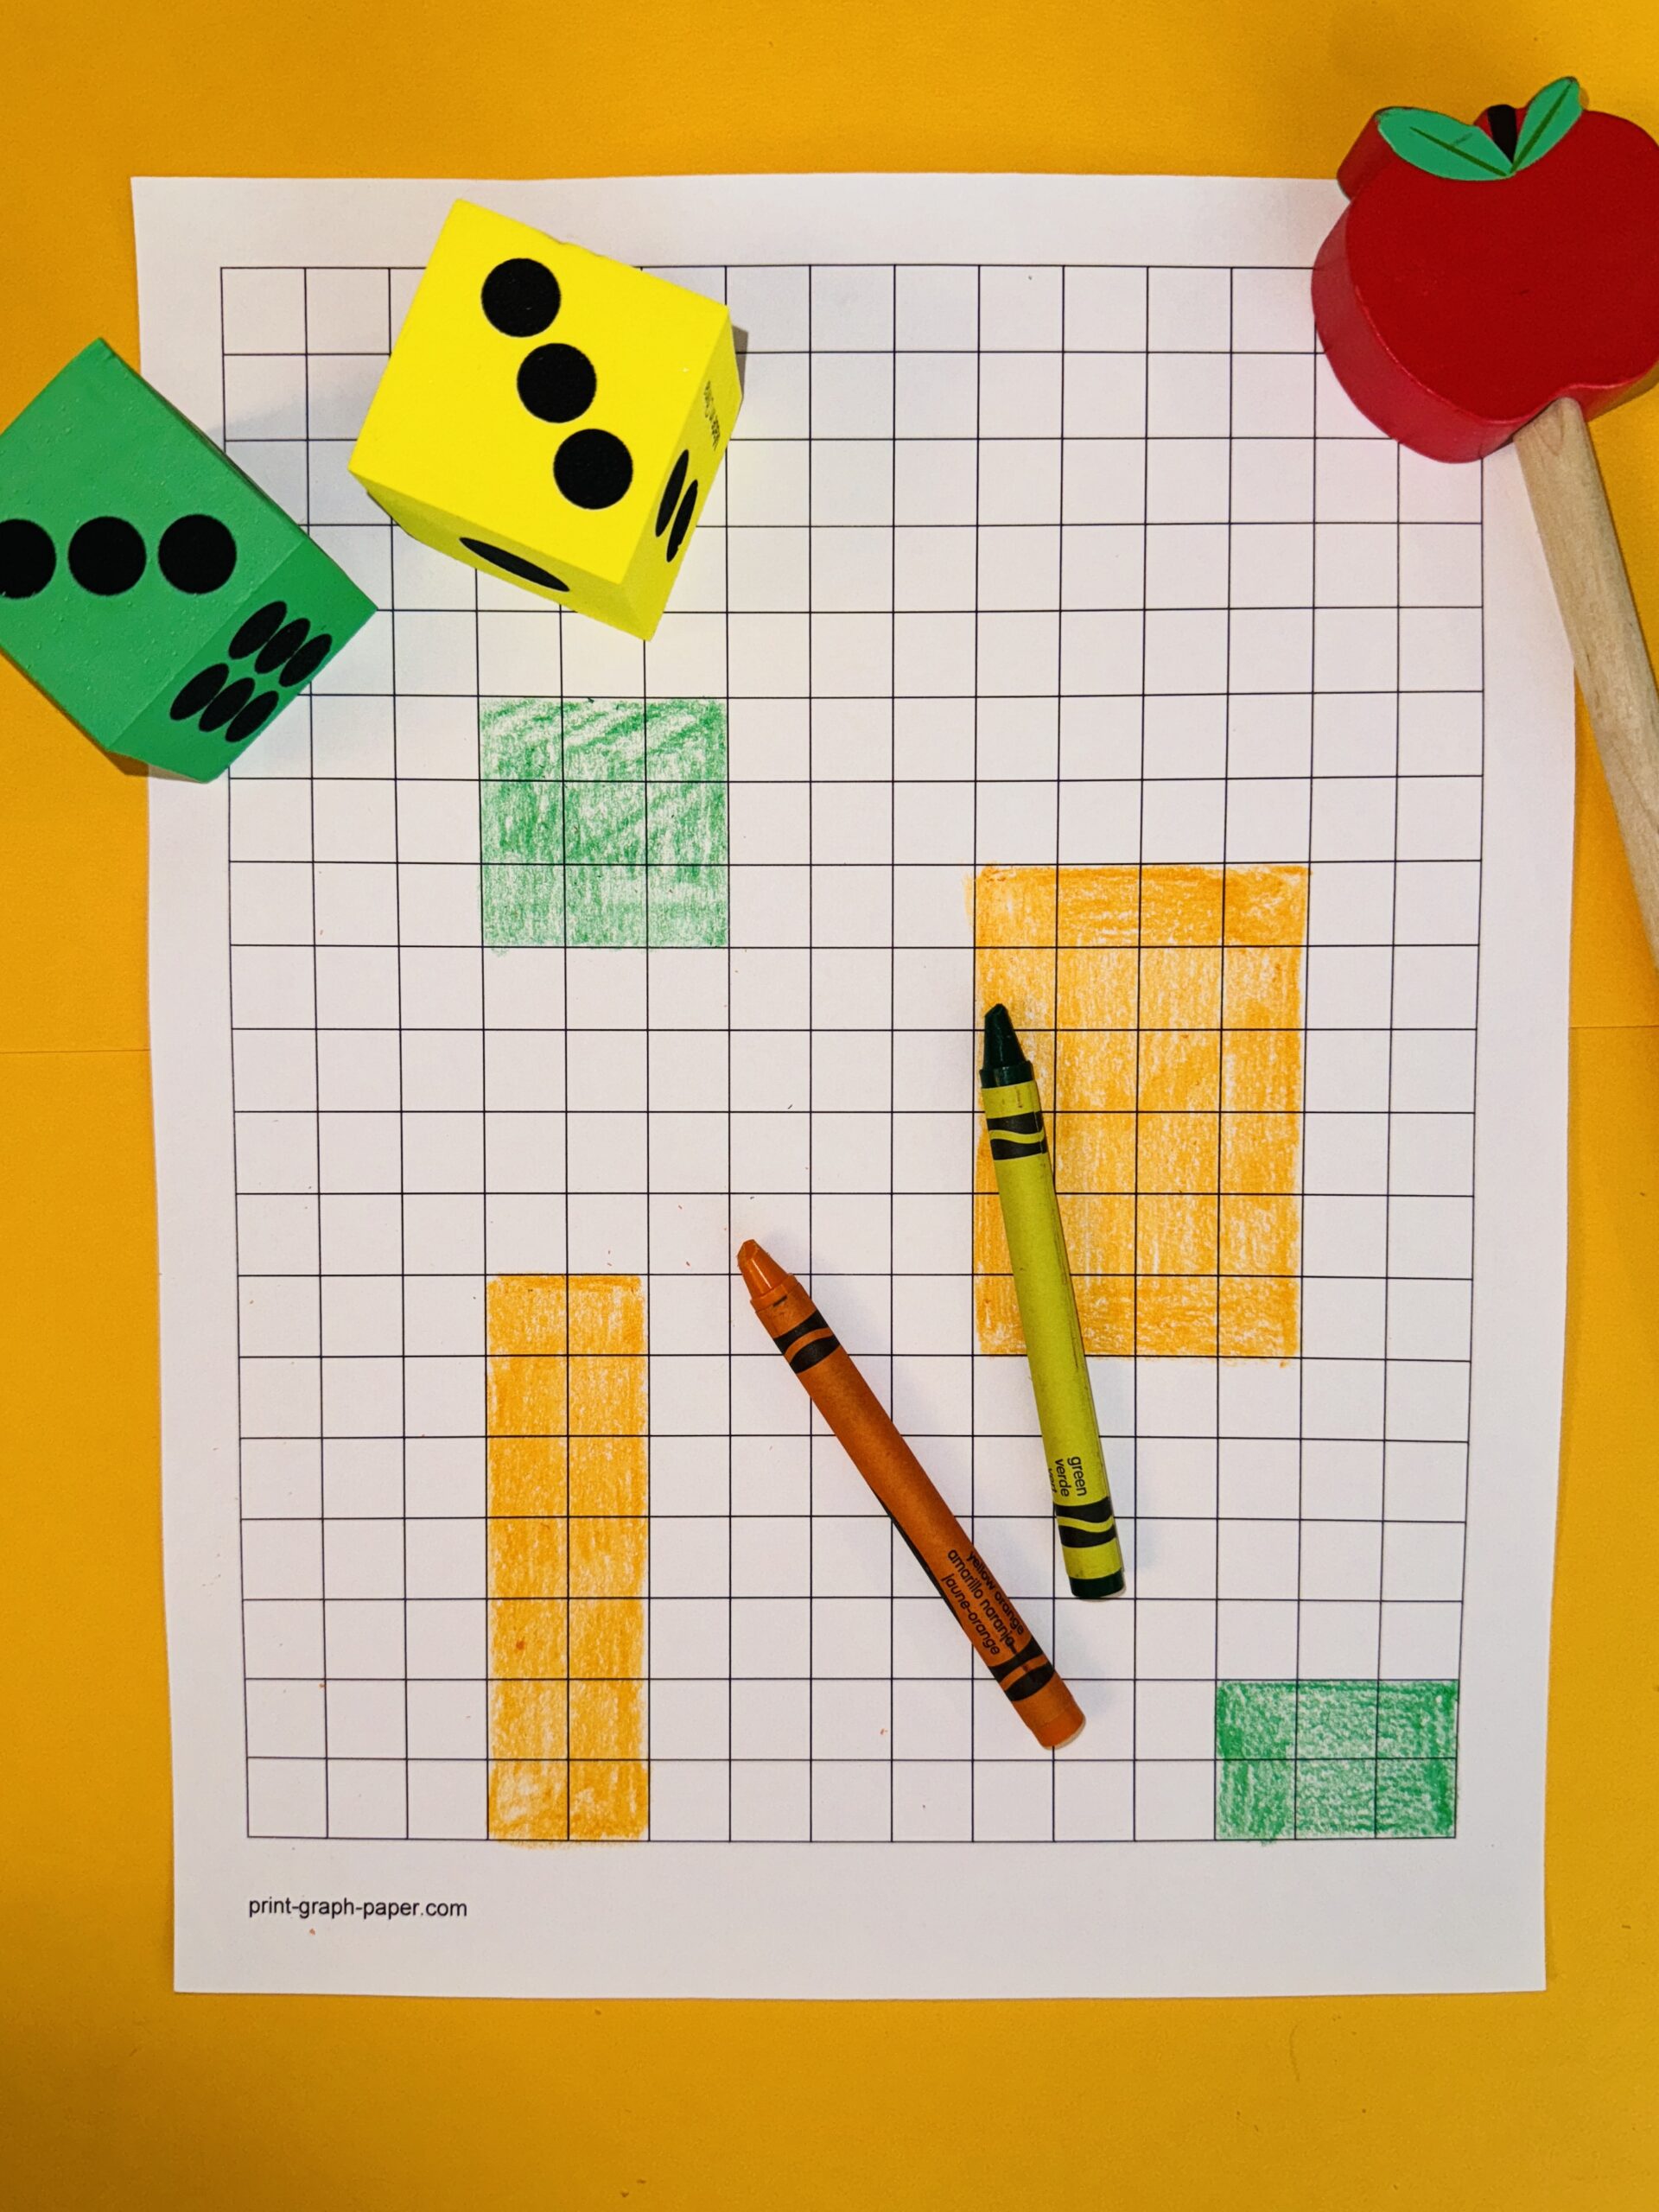
Pair students up and give them crayons, graph paper to share, a pencil, and a pair of dice or number cubes. Each player chooses a color crayon to use. Players take turns rolling the dice. The two numbers that come up must be multiplied to create an area. The player then takes the color they chose and draws and colors in a shape of that area on the graph paper. The next player does the same thing. Players keep repeating this procedure until they can no longer fit any shapes on the paper. They add up the areas of their shapes and the player with the most area covered is the winner.
22. Land Rush
Stake your claim! There’s a land rush out in Area Acres. It’s a small place—in fact, only ants live there. You can stake your claim, but you can’t have a parcel of land with an area of more than 24 square centimeters or less than 12 square centimeters. Those are the rules. Using centimeter graph paper, have students draw two parcels of land that meet the requirements, and record their areas and perimeters.
23. Cheez-It Designs
Cheez-Its are tasty and they are also perfect little squares, which means you can tile with them and create some rectangles or other shapes. Give each student a couple of handfuls of crackers and a paper towel to build on. How motivating, especially if after you determine the perimeter and area, you get to eat them!
24. BIG Rectangles
Pair students up and give them some colored chalk. Have them draw a fairly big rectangle on the playground. Provide measuring tapes and ask them to work together to measure the perimeter and write it under the rectangle. Strategize on how they might determine the area. They could draw a grid on top and try to count squares and partial squares, adding them up to get a final answer, or just multiply the length by the width.
25. Magic Carpets
Here’s an opportunity to measure something a little larger. Bring in some rugs or carpet samples from a local carpet store. Pair up students and give them rulers, yardsticks, and tape measures. Tape a piece of paper with a letter on each rug. Spread these out around the room. Assign a letter for each pair to start at. They should use their measuring tools to discover the perimeter and area of each rug and record it on a piece of lined paper. When done with one, they rotate to the next until they’ve measured all the rugs and shared their findings.
26. Self-Portrait Picture Frame Perimeter
Bring in a framed picture or poster. Show students how you would measure the perimeter using a ruler or measuring tape. Give students a piece of drawing paper and ask them to draw a perimeter frame with a pattern design on it. Inside the frame, they should draw a self-portrait or a portrait of someone they admire. They then measure the perimeter of the frame and record it on the back of the paper.
27. Centimeters and Inches at the Pool
Give each student a ruler that has centimeters and inches on it or two rulers, one with centimeters and the other with inches. Ask students to draw a bird’s-eye view of a swimming pool on a piece of drawing paper and color it in. They can add deck chairs, umbrellas, tables, and so on around the pool. When finished, have them measure the perimeter and area in both inches and centimeters and record it on the same paper. Have students compare and discuss the differences in the numbers.
28. Design Estimation
We rarely carry measurement tools around with us—instead we mostly we estimate. Here’s one of the easy area and perimeter activities to get some practice with that.
Draw a fairly large, closed shape with straight lines on the board. Ask the class to take out whiteboards and markers, estimate the perimeter and area of your drawing, and record it. They can come up to the board to get a closer look, but they can’t use a measuring tool or touch the board. Once they have an estimate, they should share it back and explain their thinking.
Next, take a ruler and measure a couple of the lines of your drawing and tell the class the measurements. Based on the new information, they can revise their estimates or leave as is. Finally, ask students to take turns coming up to help measure the rest of the design and get a final answer.


